When you print an image, you expect it to look just as sharp and clear as it does on your screen. However, many people run into a common problem—blurry, pixelated, or distorted prints. This often happens because of incorrect image resolution.

Resolution determines how much detail an image holds, and if it’s too low, the print quality suffers. Many people assume increasing the size of an image will fix the issue, but that’s not how resolution works. To get crisp, high-quality prints, it’s essential to understand how resolution affects your images, where mistakes happen, and what you can do to ensure the best results.
In this guide, we’ll break down:
- How image resolution works
- Common mistakes that lead to poor print quality
- How to properly prepare images for high-quality printing
By the end, you’ll have a clear understanding of what’s needed to achieve sharp and professional-looking prints every time.
Stage 1: Where Resolution Begins
When you take a photo, create a design, or download an image, the resolution is already set. But not all images are created equal.
- A high-resolution image (300+ DPI) contains tightly packed pixels, allowing sharp details when printed.
- A low-resolution image (72 DPI) has fewer pixels per inch, meaning less detail and potential blurriness.
At this stage, the resolution depends on the source:
✅ Captured with a high-megapixel camera? Great start!
❌ Downloaded from the web? Likely a low-resolution 72 DPI file.
Key takeaway: If you start with a low-resolution image, fixing it later is much harder.
Stage 2: The Editing Dilemma – Mistakes That Ruin Resolution
Now, imagine you open your image in an editing program and realize it looks too small. You decide to resize it, stretching it larger to fit your needs. Here’s what happens:
🔴 Mistake 1: Scaling up a raster image without proper upscaling tools
- Enlarging a low-res image simply spreads the existing pixels apart, creating a blurry or pixelated effect.
- The image loses clarity because there aren’t enough pixels to maintain the details.
🔴 Mistake 2: Using the wrong file format
- JPEG compression sacrifices quality to reduce file size, leading to fuzziness when printed.
- PNG is great for screens but not always the best choice for detailed prints.
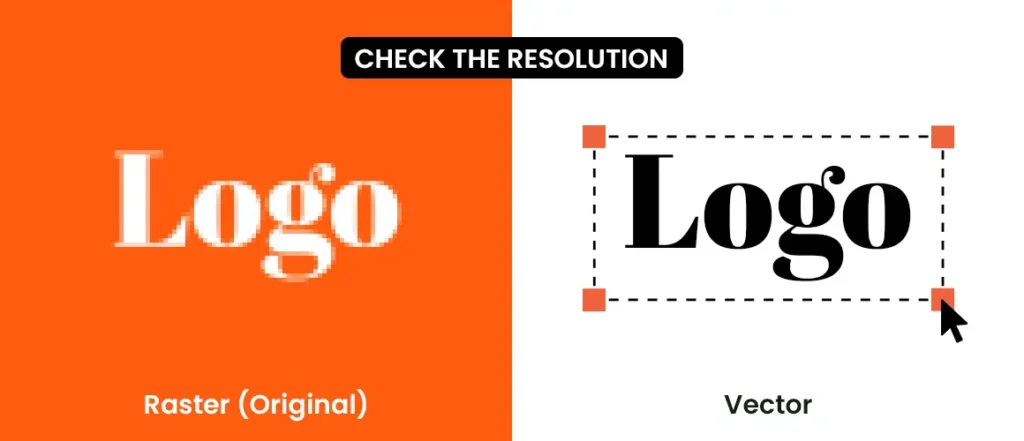
- Vector formats (AI, EPS, SVG) maintain perfect clarity because they’re resolution-independent.
🔴 Mistake 3: Ignoring DPI settings
- Even a large image might be set to 72 DPI, making it unsuitable for print.
- Increasing the DPI in Photoshop without resampling correctly won’t magically add detail—it just forces the printer to spread pixels unnaturally.
Key takeaway: Resolution mistakes made during editing can make even a high-quality image unprintable.
Stage 3: The Printer’s Perspective – What Happens When You Print?
Once your image is sent for printing, it goes through another transformation. Your printer interprets the file’s resolution and color settings. If the image wasn’t prepared correctly, here’s what can happen:
⚠️ Blurry and jagged edges – Caused by insufficient DPI.
⚠️ Colors look different – Happens when an RGB image is printed in CMYK without proper conversion.
⚠️ Loss of detail in fine elements – Common with compressed files (low-quality JPEGs).
This is why designers and photographers always check:
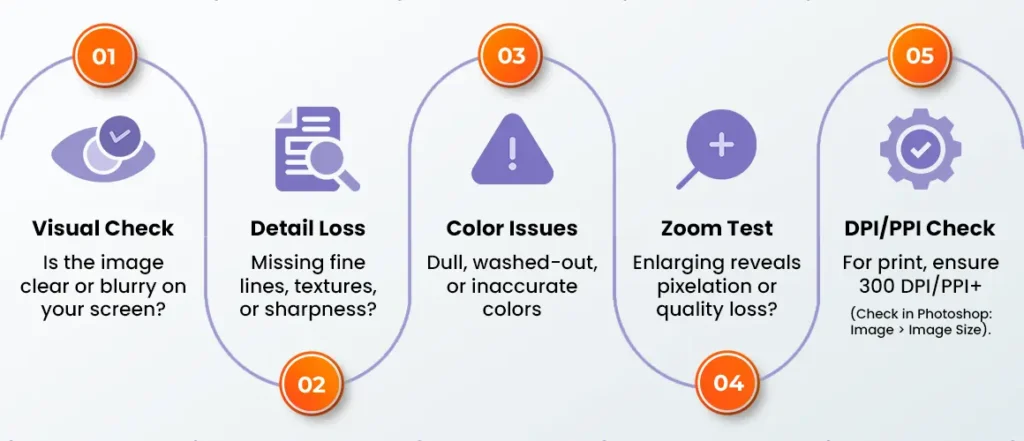
✅ DPI (300 or higher for print)
✅ File format (TIFF, PDF, or vector files are best)
✅ Color mode (CMYK for printing, not RGB)
Key takeaway: The printer cannot “fix” a bad-resolution image—it only prints what it’s given.
Stage 4: Fixing the Problem – Can a Low-Resolution Image Be Saved?
What if you’ve already designed something, but the resolution is too low? Here are the best possible solutions based on the type of image:
For Photos:
📌 Use AI-powered upscaling tools – Apps like Let’s Enhance or Photoshop’s Super Resolution can help increase resolution while preserving detail.
📌 Shoot again if possible – If you took the photo yourself, retaking it in higher resolution is the best option.
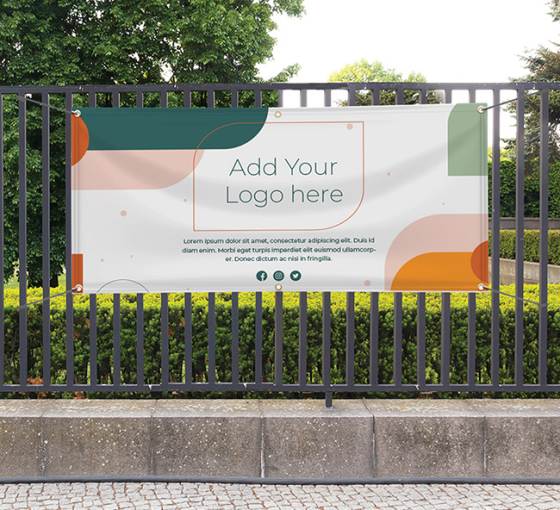
For Logos and Graphics:
📌 Convert to vector format – Instead of increasing resolution, use Adobe Illustrator’s Image Trace to convert a raster logo into a scalable vector.
📌 Redesign in high resolution – If it’s a simple graphic, recreating it in a higher resolution might be the easiest fix.
For Text and Line Art:
📌 Use SVG or PDF formats – These keep text and sharp edges clean without worrying about resolution.
📌 Avoid using raster images for text – Instead, ensure fonts are embedded as vector graphics.
Key takeaway: Some images can be fixed, but it’s always better to start with the right resolution.
Final Thoughts: Resolution Is Not an Afterthought
Resolution affects every stage of an image’s journey, from creation to printing. A low-resolution image might look fine on screen, but the moment it’s printed, every flaw becomes visible.
The best way to avoid printing disasters? Think about resolution from the beginning. Whether designing marketing materials, printing photos, or preparing graphics for banners, use high-resolution files, the right formats, and proper upscaling techniques to ensure stunning print quality.
Written by BannerBuzz Editorial Team.

 Posted in